Friday 1 May 2015

Overall Evaluation

In this evaluation I will talk about the values within my work in regards to artists influences/
research, experimenting with techniques and methods, eventually resulting in my final 
outcome. Our projects are divided up into four different assessment objectives.

Firstly, AO1 consists of the initial ideas and responses to the starting point as well 
contextual research. To achieve high marks in this assessment objective, mindmaps of each starting point were created. I Then produced a more in depth mindmap of my chosen starting point of Evidence which displayed my initial response and sequential thinking in order to inspire me to carry out imaginative leaps, allowing me to show a clear journey. When carrying out in depth contextual research I ensured that I 
analysed their work by using an effective use of critical vocabulary. Thus allowing me to 
produce sustained and focussed investigations that clearly demonstrate an influence and 
relation to each of my chosen artists by using similar methods and techniques. I felt that 
when creating pieces of work showing artist’s influences, I was very effective in showing 
inspiration from Michael KellyStephen WilkesChristoffer Relander and Alexander 
Khokhlov. Due to studying these photographers work my investigations were very 
sustained, focussing heavily on taking two different photographs and putting them together 
in order to create a new image. As the project progressed I showed an increased interest in Double Exposure photography which was inspired by the work of Christoffer Relander

Additionally, AO2 is associated with experimenting with appropriate methods, resources, 
media, techniques  and material as well as showing an ability to refine my work. I feel that 
my work has been very creative and imaginative as I have experimented with a variation of methods and techniques. Throughout the course of this exam project I have introduced 
myself to new techniques such as Double Exposure photography as well as the method of 
create one image from two different photographs. I have also experimented with the 
Photoshop software which is evident through my computer experiments and print 
techniques where I explore different processes in order to produce a range of different and 
interesting outcomes. Also I have produced several phyisical experiments where I printed off some of my images and experimented with them, using various media such as pen and 
tip-ex as well as cutting them up and re-
arranging them. I have constantly demonstrated a fluent ability to refine my work as ideas 
develop by introducing artists’ styles into my own. Initially, I explored themes of weather, 
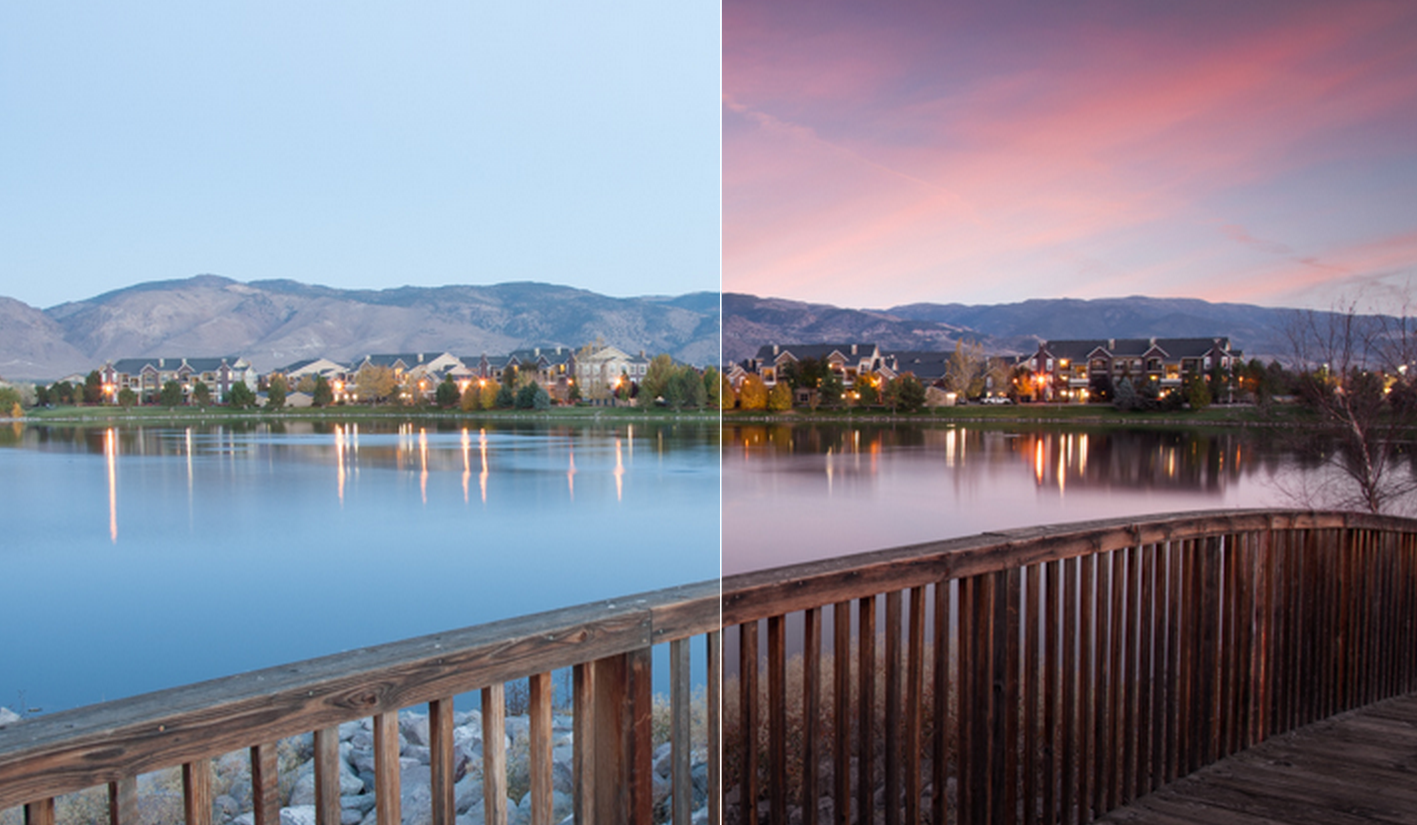
weathering and damage. I feel that in my sixth shoot was a turning point of my project whereI produced a multiple imagery piece showing the condition of a glass before and after the 
damage takes place. From this point onwards my theme shifted to the theme of before and after which also allowed me to introduce Michael Kelley’s and Stephen Wilkes’ style into my own work very effectively.

I also believe I have demonstrated a highly effective command of the formal elements in 
order to create successful photography. I have commanded all the formal elements 
effectively through studying my artists’ work as they all provided me with different 
approaches in order to illustrate specific formal elements. I feel that I have shown an in 
depth subject knowledge which is evident through the annotations of my work where I have used critical vocabulary in order to discuss values. My work diaries from each shoot were 
very successful in allowing me to demonstrate an ability to reflect on my work and progress. In these work diaries I picked to pieces from each shoot and analysed them, explaining my 
view on whether they are successful or not. Also I included a progression section in each 
work diary which illustrated what I would like to do in my next shoot, allowing me to 
demonstrate a clear journey.

Furthermore, I believe that my work is very effective and deemed as exciting due to its 
originality. From the start of the project to the final outcome I have demonstrated a 
consistent high standard of work. I feel that my final outcomes are very effective in 
illustrating the influences of Stephen Wilkes and Christoffer Relander through he use of 
there techniques in my own work. Overall, I feel that I have displayed a constant ability to 
produce very original work at a high standard, simultaneously refining it, showing the 
influences of my artists and resulting in creating very personal response to the project title 
being Evidence.

Thursday 16 April 2015

Connecting Essay 5

This is a photograph I found on the internet by Michael Kelley. He has taken a photograph of the same subject at two different times which is indicated through the colour of the sky. The sky also reflects the same colour into the water. The left side is dominantly blue whereas the white side is rather red/orange and purple. Lines can also be seen in the reflections of light as they travel downwards on the water. The tone of the the mountains in the background is much darker in the right image, which show the different position of the sun as here it is creating shadows. Depth is also shown in this piece due to the things in the distance looking much smaller in caparison with the size of the bridge in the foreground.

This is my own piece of photography where I have also taken two separate photographs of the same subject at two different times in the day, then combining them in two halves of the composition to create a new image. Like the image above the sky is the key indicator in implying that the pictures were taken at two separate times in the day. The left side illustrates that it was taken in the day as the sky is blue whereas the right side is red/orange and implies a sunset, later in the day. The branches in the right side are also much darker, acting as a silhouette.


These images can be connected through the fact both of them are split into two but still creating the same image. The same technique of taking to separate pictures of the same object in the exact same position is used which is shown through the consistency of the images as the central points of the separate images line up. The two different photos in both of these pieces were taking at two separate time, on the left images are taken in daylight whereas the right is taken later during a sunset. This is indicated through the different colours visible in the different photos. The left side in both compositions is dominated by blues whereas the right sides is more red/orange. Both images use the sky in order to illustrate different times in the day and therefore show time passing by. The formal element of line is visible in both of the pieces despite it being displayed in different ways


Connecting Essay 4


This photo is one I gathered from the internet and also used in my research log, showing the work of Ursula Abresch. It is of moss from a very close up distance showing it in great detail. This detail is enhanced through the method of blurring the background and foreground, focussing the attention and entail to the subject in the middle ground. Lines can be seen around the edge of the moss, as these areas are much lighter and exaggerated due to the blurring technique. They are also enhance through the face the the rest of the background is much darker and contrasts with these areas. The subject is placed near the centre of the composition where the most detail lies and therefore acts as the focal point of the piece.

This is my own photograph which I took by using the macro effect on the camera in order to capture the maximum detail of the water droplets on the moss. By focussing on this area, the background and foreground is blurred, therefore enhancing the detail and attention to this point. The formal element of colour is very visible as vibrant tones of green and yellows are shown where darker tones of orange/red show lines of moss. In the background the shapes and size of the water droplets are exaggerated so larger circles can be seen

These photos can be connected to each other through the subject of matter being moss, focussing on the water droplets formed by the weather. In both cases the method of blurring the backgrounds and foregrounds is used, allowing the attention and detail be enhanced to the middle ground and the main subject. This method is used to imply depth and distance as things seem further away. Some parts of the background in both images are much lighter than the rest of the compositions. This is because of the  blurring of the background which exaggerates the shape and size of the water droplets and lighter areas. They both have a similar green colour scheme with a slight tinge of orange/yellow. The formal elements of line is very strong in order to show the texture of the moss in both of these pictures. A similar camera and and zoom has been used, they are both very close up to the subject and on a similar level to it.


Connecting Essay 3

This is an image of a conifer tree which I found on the internet. There is a great contrast within the tree, showing a variety of tones in order to show the presence on snow. It could be considered that this contrast shows shows the shape and structure of the tree which is also further enhanced by the white background. The formal element of lines can be seen in smaller trees either side of the conifer. Depth is shown through the recognition that the tree is gradually getting smaller, as it gets further away. Depth can also been seen through the white lines in the foreground towards the bottom of the composition which imply snow on branches of trees. This also shows the camera angle and zoom as the bottom of the trees have been cut out of the frame. 

This is my own image which took of a conifer tree in order to show the presence of snow, and therefore  showing evidence of snow and the season of winter. The snow can be seen through a clear contrast in colour on the branches of the tree. Line is also a significant feature of the photograph, shown through the smaller trees either side as well as the branches which come of the main tree. The shape of these lines are enhanced through the light background which contrasts with the tree and therefore shows the structure and shape of the tree very well. It shows the sharp lines coming of the branches in many different directions, these lines can also been considered to imply the texture of the tree.


These two photographs can be connected to each other due to them having the same subject of matter as they are both of conifer trees. A contrast in colour amplifies the recognition that there is snow present, and could therefore imply the season of winter due to the weather. The compositions are also very similar as there is a main subject in the centre of the composition with much smaller trees and branches either side. These trees to the side have no leaves, shown through thin lines that travel upwards, implying branches and also the season of winter.The camera angles and zoom in both of the pictures are of a lowish level, looking up to the top of the tree, cutting the bottom of it out of the frame. In both cases there is a very light/white background which enhances the shape of the trees. A sense of form and depth are included as the contrast of dark and light tones show shadow areas within the tree. The highlight areas therefore either show snow or the branches that travel towards the camera. There is also similar colour schemes in these pieces with dark greens seen in the tree as well as blacks and whites.

Connecting Essay 2

This is a photograph which I gathered from the internet where a photograph of an old man has been blended with a natural background of what seems to be leaves of a bush/tree. Tone is very visible in this pieces where the highlight and shadow areas are enhanced by the black and white effect, also the darker background allows the figure to stand out and be seen more clearly. This also implies a sense of depth as it seems as if the figure is closer than the background. The leafed pattern of the background provides a base layer of detail which corresponds to the age of the subject. This detail enhances the dark lines on the subjects face which illustrate wrinkles and also implies a rough texture. The eyes of the image are also much darker than the rest of the face and therefore act as the focal point of the pieces.

This is my own piece of photography where I have taken a close up picture of my sister and blend it with a photograph of a bush/tree to act as a background and provide detail. This 
piece is very tonal due to the black and white effect acquired to it. The innocent looking 
facial expression contributes to the fact to why the figure is merging into the background, 
implying a sense of vulnerability. The background conveys patterns of the leaves on the 
trees and also implies a rough texture due to the harsh lines which show the bristly/rigid 
leaves.


Both of these photographs share a great connection with the techniques used to create them. The both have been created through the photography method of double/multiple exposure, meaning two separate photographs have been taken and then edited together by using photoshop. The two images are also very similar due to the figures faces being blended into the backgrounds, which in both cases consist of natural objects such as plant/trees/leaves/bushes for example. Both of the subjects are making bold eye contact with the camera and can therefore result in much more intense viewings. A black and white effect has also been used which allows the pieces to become seemingly tonal, amplifying highlight and shadow areas which also enhance the shapes/patterns in the backgrounds. The composition of both pieces are also very relatable as the subject photo is only of the head of the figure which is positioned in the centre on the composition.

Connecting Essay 1


This is an image that I have discovered through my photographer research. It shows many of the micro elements in various ways. Depth is clearly shown through the recognition of objects getting smaller as they get further away, effectively shown through the general public. This is also shown through each side of the composition converging towards the centre of the piece. There is a great contrast between either side of the composition in relation to colour and light, showing the two different times in which the photographs were taken, before being blended together. The left side is significantly darker than the right; colours such as yellow and orange are seen as they stand out on the dark surroundings, therefore enhancing their shape. Contrastingly, the right side is much lighter and brighter and the variety of colours seen, along with the recognition of blue sky symbolises day time.

This is my own piece of photography in which I produced during my exam. The most dominant aspect of this photograph is the different colours seen. The left side is dominantly green whereas the right side of the composition is made up of much warmer colours of oranges and reds. The recognition of the different coloured leaves demonstrate two different seasons, being summer and autumn. Dark lines are also visible travelling upwards in order to show the stalks and branches. Form is also implied through the shadows of the trees being seen on the path. The path itself travels in a straight line upwards until the centre of the composition where it ventures round to the right where it goes out of sight.

These two images can be connected very effectively for a variety of reasons. Firstly they both imply a sense of two different time frames which are separated to either side of the composition. Also both of the photographs have used the effect of blending the two differences together in order to create one consistent image. This blending takes places near the centre of the composition, and in these cases, slightly towards the left. Contrasts in colour are both very evident in the pictures above and also used for the same reason. They both included differentiating colours in the piece in order to signify the different time zones being displayed. Depth is a key aspect in both of the images where the composition tends to converge towards the centre of the composition, clearly demonstrated through lines either side of the centre path in both cases. Also the centre path seems to end in the middle of the composition as it increasingly gets thinner in width and therefore implying distance.


Exam Plan

For my photography exam I am going to carry out a shoot associated with using the double/multiple exposure technique. I am going to go to a couple of rural locations, by car,  such as epping forest and hatfield forest to gather images. These pictures will mostly act as he image that goes over the figure, as shown in my previous work. I will also take close ups of several peoples faces and hands in a range of poses, angles and positions to act as the base for the editing. I will take pictures of people of a variety of ages in attempt to gain different outcomes.

Examples of my own work which are similar to what I want to create in the exam

Tuesday 14 April 2015

Shoot 10 work diary

In this shoot I began to explore the photography technique of double/multiple 
exposure. A multiple exposure is the superimposition of two or more exposures to create a single image, and double exposure has a corresponding meaning in 
respect of two images. I learnt this technique by following tutorials on Youtube. 
Once understanding how to actually create a multiple exposure piece I began 
taking portraits of family members and also photographs of trees/plants/flowers. 
After collecting all the images I needed to, I then edited them in Photoshop. Firstly I opened the photo of the subject and erased the background to white by using 
the rubber tool. I then put the picture of the trees over the top and applied the 
setting of 'lighten' to it which merged the two images together and therefore
 creating the double exposure. After that I altered the hue/saturation, curves and 
colour balance of the pieces and even applied black and white filters. I feel that 
this shoot was very successful as it showed a clear influence of my chosen artist of Christoffer Relander.
This is my favourite outcome from the shoot for several reasons. Firstly, the two 
images included can be easily identified. The trees are shown by many thin lines which generally travel upward towards the top of the composition where they end in different lengths but still provide and impression of the figures head.The 
different tones on the subjects face is also effective in indicating the positions of 
the facial features and also shows the form of he face through shadows and 
highlights. The pose and black and white filter used is also similar to Christoffer 
Relander's work, which therefore shows his influence.

This is another piece which I feel is relatively successful in showing the influence of Christoffer Relander. This time I made the main subject the trees and leaves 
with the figure blended and faded into it in the centre of the composition. Once 
again, lines are very significant in order to show the texture of the tree which is 
also enhanced through the dark and lighter tones. The fact that the figure is faded into the background implies a sense of depth as is appears as she is submerged in the tree. I also used a black and white effect in order show Relander's influence and to enhance the figures emotion to be sad and depressed which is also 
shown through facial expressions.

Progression
In my next shoot which will most likely be my exam I will attempt to create more 
successful double and also multiple exposures by using portraits from different 
angles and poses. Also I could take photographs of different parts of the body 
such as hands in order to apply variety to my work rather than constantly 
photographing faces. To continue this sense of variety I could also take 
photographs of buildings to merge with the figures.


Thursday 26 March 2015

Shoot 9 Work Diary

In this shoot I focussed my work on water speakers, in a dark setting, in attempt to capture good quality photographs of the water in motion by increasing the shutter speed. This was very interesting as, by catching the water in mid-action, very interesting shapes where formed by the water. I thought this would be another unique way of exploring my theme of before and after by taking several photographs at the different stages of the waters movement, capturing the water in different shapes and heights. Once I captured good quality photos of the water at different stages I combined the images together in order to show the progression of the water. Therefore illustrating the theme before and after.

In this photograph I combined four different photographs in order to display the different stages of the waters movement. Here I have developed Michael Kelly's approach as I have takes photographs of the same object at different moments in time.The shapes of the water are enhanced by the bold vibrant colours of the water in comparison with the dark background. There are darker and light shades of the separate colours which imply the form of the water. As the composition progresses to the right, the lines of water are shown to gradually get taller and taller. A pattern is also visible in this piece which is demonstrated by the order the colours are arranged in, created a colour sequence. 

For this piece of work I once again used a different approach to capturing the waters development. Here I cropped four different sections of water from four separate photographs showing the different stages of the waters movement. I then merged them together in order to create one new original piece. As the water segment progress to the right the water heightens, therefore once again showing he water at different stages. I have altered the order of the colours as before by placing the orange section on the left instead of the right. I feel that this has a similar approach to the work of Stephen Wilkes as I have taken pictures at different times and blended them together to create a new image. The effects of the micro-elements are the same as the image above.

Progression:
In my next shoot I will continue exploring the technique of taking several pictures of an object and then putting them together to create a new piece. In order to do this I will begin to try out the double exposure technique of taking two pictures and putting them together. 


Shoot 9 Straight Images